I've realized that approach to this Telecaster project is very similar to my approach to brewing beer. When I brew, I always have a lofty vision of what I want from the final product. However, there a lot of things that can go wrong on Brew Day (and beyond) that affect the final product, often in a less-than-desired way. So when I start a new brew, my A#1 goal is "make drinkable beer." Goal #2 is, "make a beer I want to drink." Somewhere further down the line is, "Final Product = Perfect Realization of Vision." Lofty goals are great to have, but there something to be said for being able to be satisfied with a less-than-perfect outcome.
With the idea that this guitar build is a "learning project," my primary "build a guitar" goal (other than to learn so that the next project is better) is to keep the expense as low as possible. A lot can be learned without spending a mint. The secondary goal is having a playable instrument. I know I have the ability to make a great sounding, great playing electric guitar using parts someone else made (I've made two so far), but I really don't know what goes in to the whole process of making/routing the body or winding the pickups. The more you can do/make yourself, the more the final product is your own and the more you learn about how it's really made.
I got my first glimpse at reality when I took the rough hunk of Poplar into the cellar and started working with it. I haven't done a lot of wood working, but I've done enough to know that working with power tools is a lot like approaching a strange dog. As much as you might be a little bit afraid, you need to be bold, confident and decisive, yet fluid in your actions. Being jumpy and tentative typically doesn't end well in either case.
The workup on the hunk of Poplar went down like this:
- cut the 36" length into two 18" lengths.

- With the crown up, trim about 1/4" off one side to get a flat edge.
- Flip the board around and cut the other length to get a total board width of 7" (finished width needs to be 6 3/8")

- Now that I have [what should be] two parallel surfaces, I stood the board on its edge, cranked the table saw up to its 3" max height and ripped the length of the board, flipped it, and ran it again leaving about a 1" piece in the middle to saw by hand. This was the potential dog-bite moment. The table saw I have really isn't powerful enough for what I was asking of it (I tripped its internal breaker twice and had to shut the saw down mid-cut on each pass as the blade started binding), so there was an element of unpredictability as the wood was being fed into the blade. It definitely didn't go perfectly, but it did what it needed to do!

 The finished product was definitely rough and I wasted a good 1/4" of material with my method vs. the preferred "take it the luthiers' shop and run it through the band saw" approach. The table saw work took a while, but it worked. The hand sawing of the remaining wood strip in the middle took a while as well, but probably no more than 10-15 minutes per piece.
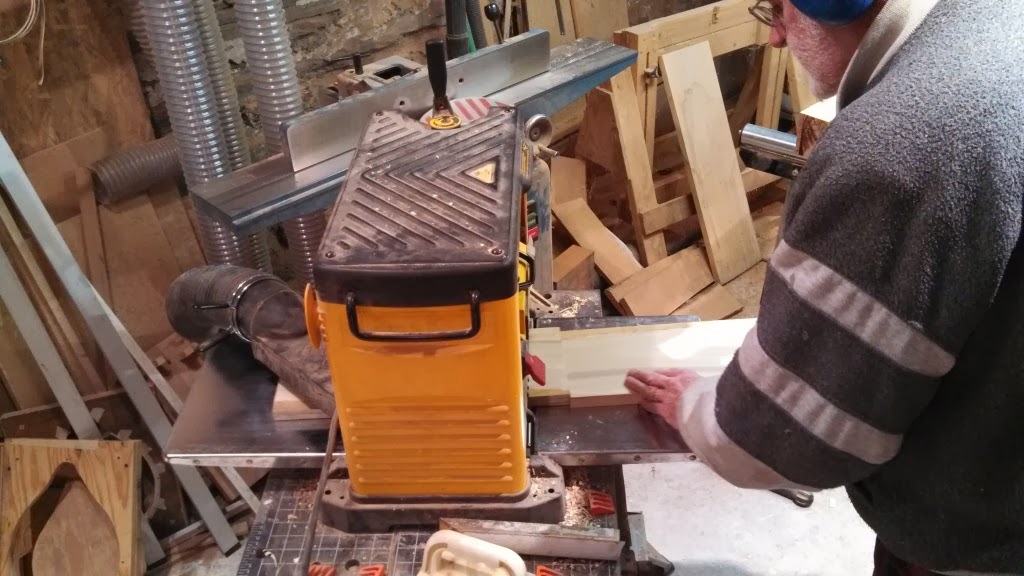
The next step for the body was a trip to the Ennis & Lubold workshop in Randolph to make the rough-cut, crowned pieces into perfect rectangles in profile so that they could be glued into a solid guitar-sized block. The first step was to run the boards through a wide surface planer. This removed all of the junk left over from the division of the board and stripped away the crowning of the wood. A similar process was done on the edges to ensure that the edges were perfectly straight for a flush glue joint. After some hemming and hawing about how to put the pieces together, the sides were matched glued. Once they had set, they were then glued together to each other resulting in a pretty striking (for a $13 chunk of Poplar) bookmatched pattern.
 |
| Planing the rough boards. |
 |
| Applying the glue. |


